Well as I've said in the past I have pattern cutting on Thursdays and the Thursday before my half term break I fitted zips...
We had to fit a Centre Zip and this is how it is done...
Step One...
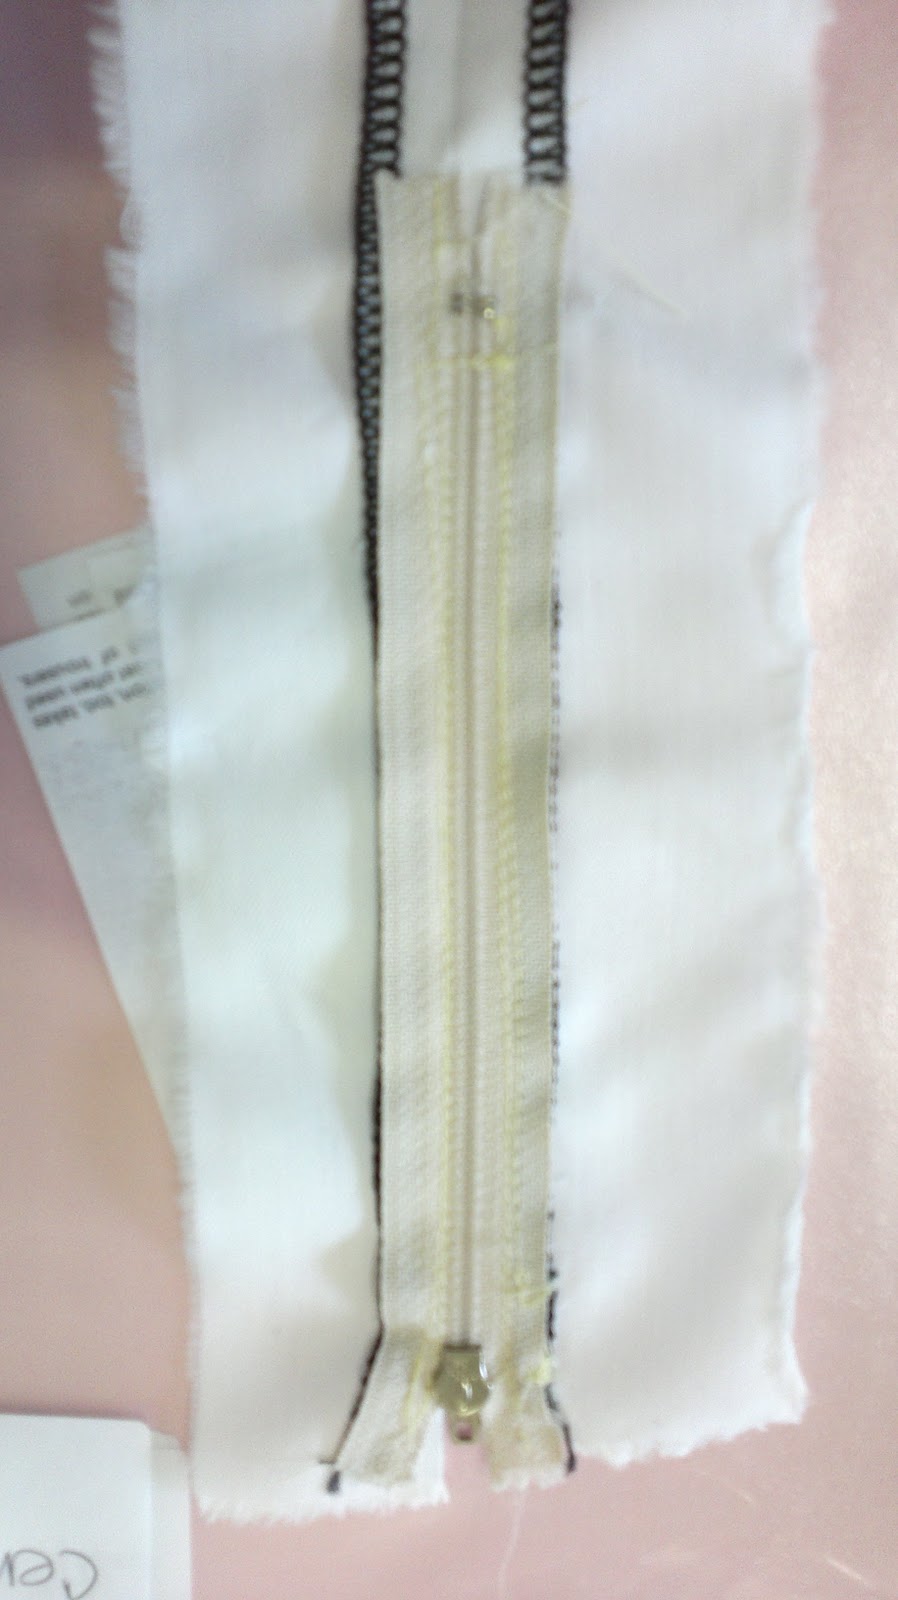
To create a centre zip, you begin by over the edges of two pieces of material. When this is done, you must then sew them together with a 1.5 seam allowance, but you only sew from where the zip ends, where the zip will be is only done using a tacking stitch, to do this you do not need to back tack and you change the tension to Three on your machine.


Step Two...
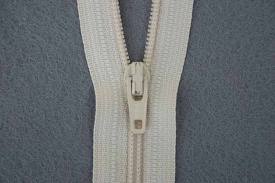
To sew on the zip you must first check the tension is on Four. Now fold back the material so you're only sewing the over locked flap. Undo the zip and place onto the material so it is over the tacked section. To sew the you will need to swap the foot to a zipper foot, this looks like a normal foot but only has one side. Sew down the side of the teeth on the zip about 0.5 centre metres away. Fasten the zip and do the same for the opposite side.


Step Three...
To secure the zip now that you've sewn down both sides you need to lie the zip and material flat, this time you will be sewing the over locked flaps to the underneath piece of fabric. Place the foot where it was before and sew down until you hit the bump where the zip will stop. Hand move the needle across the teeth about Four stitches on each side of the zip and sew up to the top like on the opposite side, make sure to back tack both sides so it does not come undone.

Step Four...
Now turn the fabric over and you should be able to unpick or pull the tacked stitches out, to reveal the zip.
Now you can test your zip, it should open and close without difficulty.

X.O.X.O
No comments:
Post a Comment